What is DNS?
Before learning the process of DNS verification, let’s first check what DNS is.DNS stands for Domain Name System. It is like the Internet’s phonebook that translates human-friendly domain names (e.g., example.com) into machine-readable IP addresses (e.g., 192.0.2.1), allowing browsers to load websites.
How is DNS Verified in Google Search Console?
Google Search Console (GSC) requires domain ownership verification before granting access to website performance data. While verifying ownership of a domain in Google Search Console, one method is to add a DNS record to your domain’s settings.
This proves to Google that you control the entire domain, including all subdomains and protocols (HTTP and HTTPS). This method is highly recommended if you want complete ownership verification.
Follow this step-by-step guide to complete the process seamlessly.
Step 1: Sign in to Google Search Console
- Go to Google Search Console
- Click Start Now and log in with your Google account.
Step 2: Add a Property
- Click Add Property (from the left sidebar).
- Choose the Domain option (not URL Prefix).
- Enter your domain name (for example,
example.com) without addinghttp://orhttps://. - Click Continue.
Step 3: Get the DNS Verification Code
Copy the entire TXT record.
Google will provide you TXT record like this:
google-site-verification=XXXXXXXXXXXXXXX
Step 4: Add the TXT Record to Your DNS
- Go to your domain registrar’s website (for example, GoDaddy, Namecheap, Google Domains, Bluehost, etc.).
- Sign in to your account.
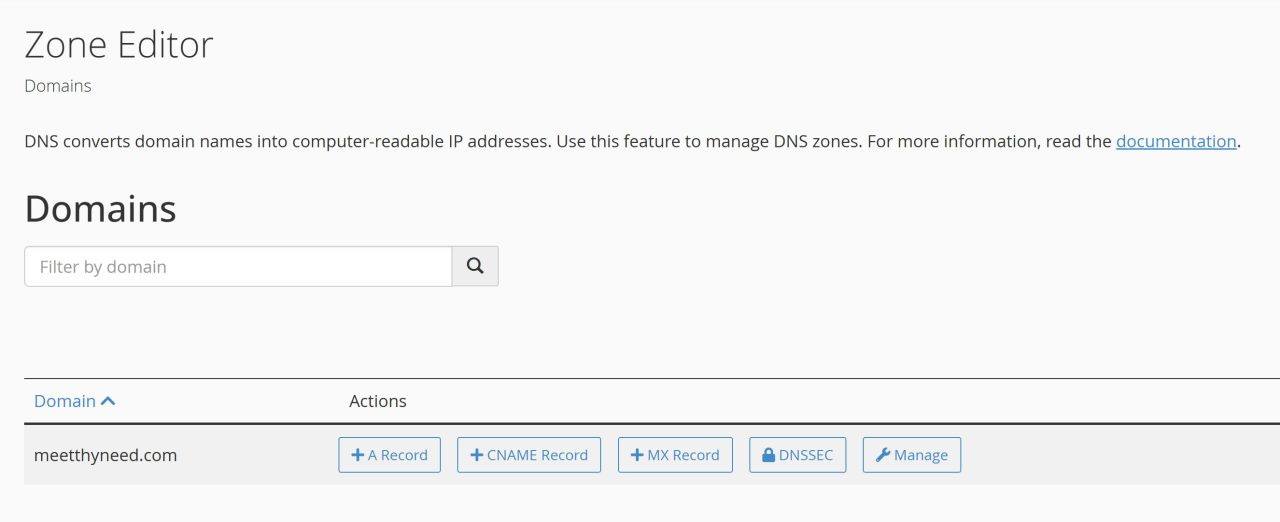
- Navigate to your DNS settings or DNS management page.
- Find the option to Add a New Record. Choose to add a new record with type TXT.
- For the Name or Host field, enter
@(or leave it blank, depending on your registrar). - For the Value field, paste the Google verification code you copied.
- Set the TTL (Time to Live) to the default value (usually 1 hour or 3600 seconds).
- Save the record.
For Popular DNS Providers:
| Provider | Steps |
|---|---|
| Cloudflare | 1. Log in → Select domain → DNS → Add Record. 2. Type: TXT, Name: @ or your domain, Content: Paste the record.3. TTL: Auto → Save. |
| GoDaddy | 1. Log in → My Products → DNS Management. 2. Click Add → Type: TXT, Host: @, Value: Paste the record.3. TTL: Default → Save. |
| Namecheap | 1. Log in → Domain List → Manage → Advanced DNS. 2. Click Add New Record → Type: TXT, Host: @, Value: Paste the record.3. TTL: Automatic → Save. |
| Google Domains | 1. Log in → Select domain → DNS → Custom Records. 2. Type: TXT, Host: @, Value: Paste the record → Save. |
Step 5: Go Back to Google Search Console and Verify
- Return to GSC and click “Verify”.
- If successful, you’ll see a confirmation message.
- If it fails:
- Double-check the TXT record.
- Wait longer for DNS propagation.
- Try another method (HTML file, HTML tag, etc.).
Step 7: Access Search Console Data
Once verified, you can:
- Submit sitemaps.
- Monitor search performance.
- Fix indexing issues.
You can also check out the guide on “How to use Google Search Console”